In this documentation, all emails and information utilized are entirely fictional and have no basis in reality.
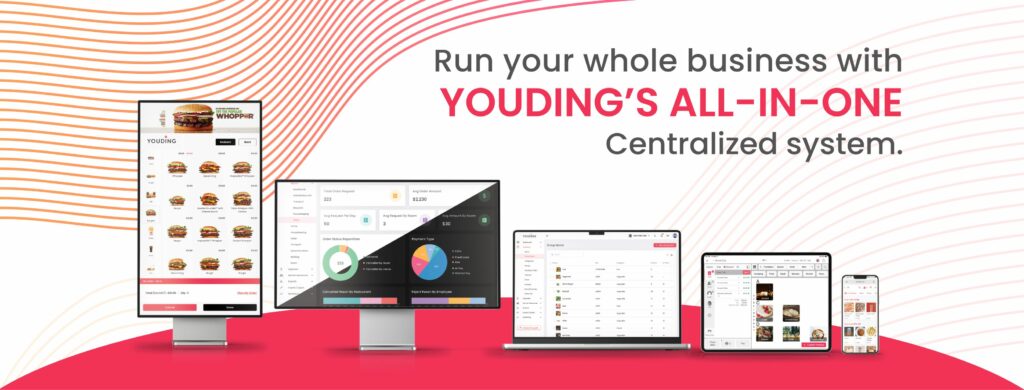
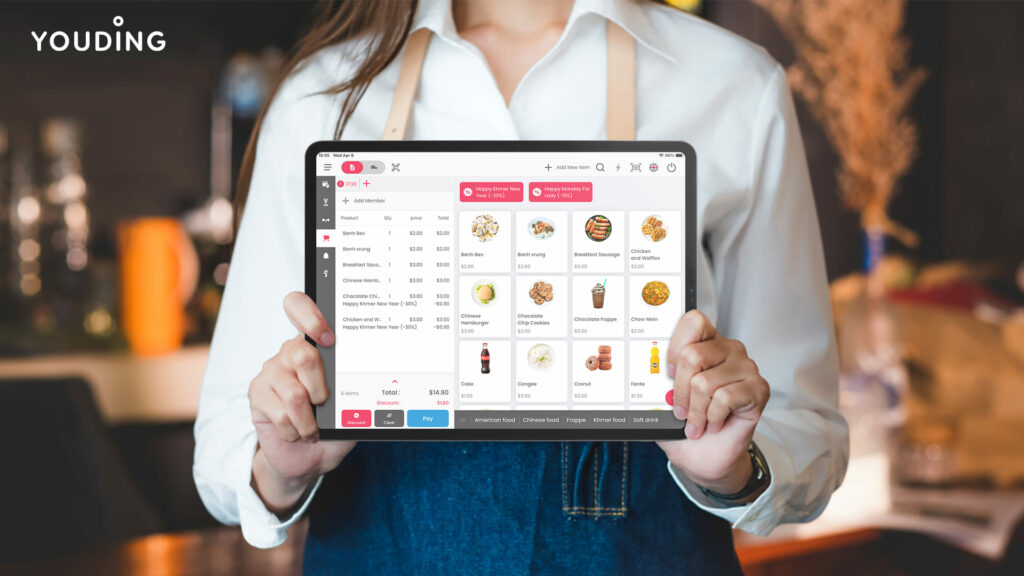
Youding POS is a powerful point-of-sale (POS) system that can be even more powerful when integrated with other applications. This allows you to automate tasks, streamline your workflows, and get a more complete view of your business data.
There are many different ways to integrate Youding POS with other applications. One popular method is to use a workflow automation platform like Wiresk. Wiresk makes it easy to connect Youding POS to any application that has an API, including CRM systems, project management tools, and marketing automation software.
Here are some examples of how you can integrate Youding POS with other applications:
- Automate customer data collection: You can use Youding POS to collect customer data, such as contact information and purchase history. This data can then be automatically sent to your CRM system, so you can keep track of your customers and their interactions with your business.
- Streamline order processing: You can use Youding POS to process orders and send them to your project management tool. This will help you keep track of your orders and ensure that they are fulfilled on time.
- Track marketing campaign performance: You can use Youding POS to track sales data from different marketing campaigns. This will help you identify which campaigns are most effective and allocate your resources accordingly.
By integrating Youding POS with other applications, you can save time, improve efficiency, and get a more complete view of your business data. This can help you make better decisions and grow your business.
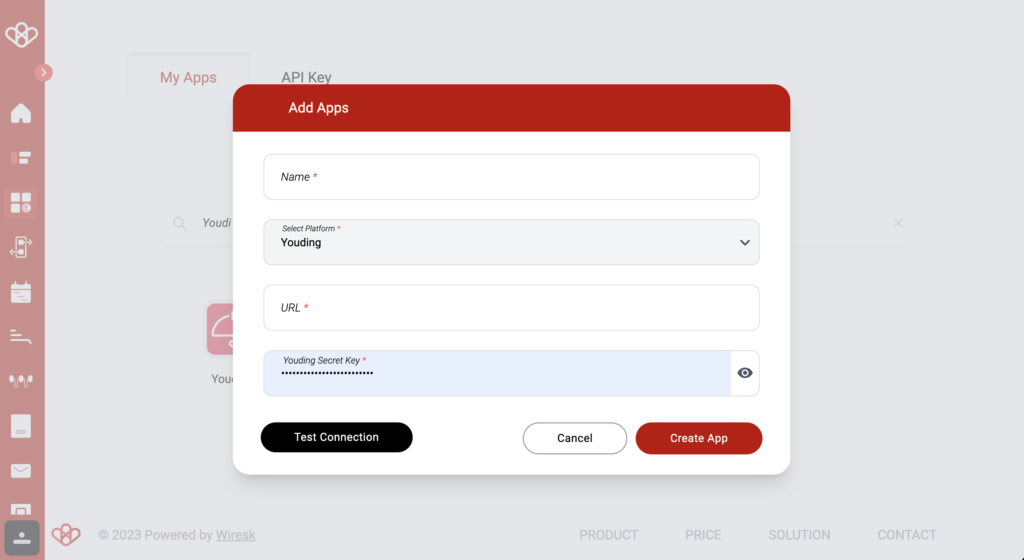
It is important before using Youding as a listener to get a connection to it.
To do so, please follow these steps:
Click on “+”

Search Youding and Click on it

Select the Youding platform

Choose a name for your connection.
- URL of your Youding Tenant
- Youding Secret Key
- Save

